5 steps for shooting dreamy Christmas lights
In case you’ve been living underground and haven’t surfaced in the last month or so, we’re in the throes of the Christmas season. It’s the season of lights and sparkles and glimmer and shine - everywhere you look. If you’re keen to capture these pretty lighting displays, and master bokeh, I’m here to help.
Bokeh?
Bokeh is the soft out-of-focus background you get when shooting a subject. Taken from a Japanese word for blur, “boke” (ボケ) bokeh has become photography jargon to describe how a lens captures a background that’s out of focus. It creates images that look warm and glowy and dreamy.
And there’s no better time to capture that dreamy bokeh than at Christmas time. The opportunities are endless!


Let’s begin. My 5 steps for shooting dreamy Christmas lights are -
Shoot just before sunset
The best time to shoot those dreamy creamy bokeh shots is at twilight. You won’t need your indoor lights (if shooting indoors) - the atmospheric light will perfectly complement the continuous artificial lights. You’ll pick up the beautiful ambient colours of the sky.
Choose a subject and Christmas lights
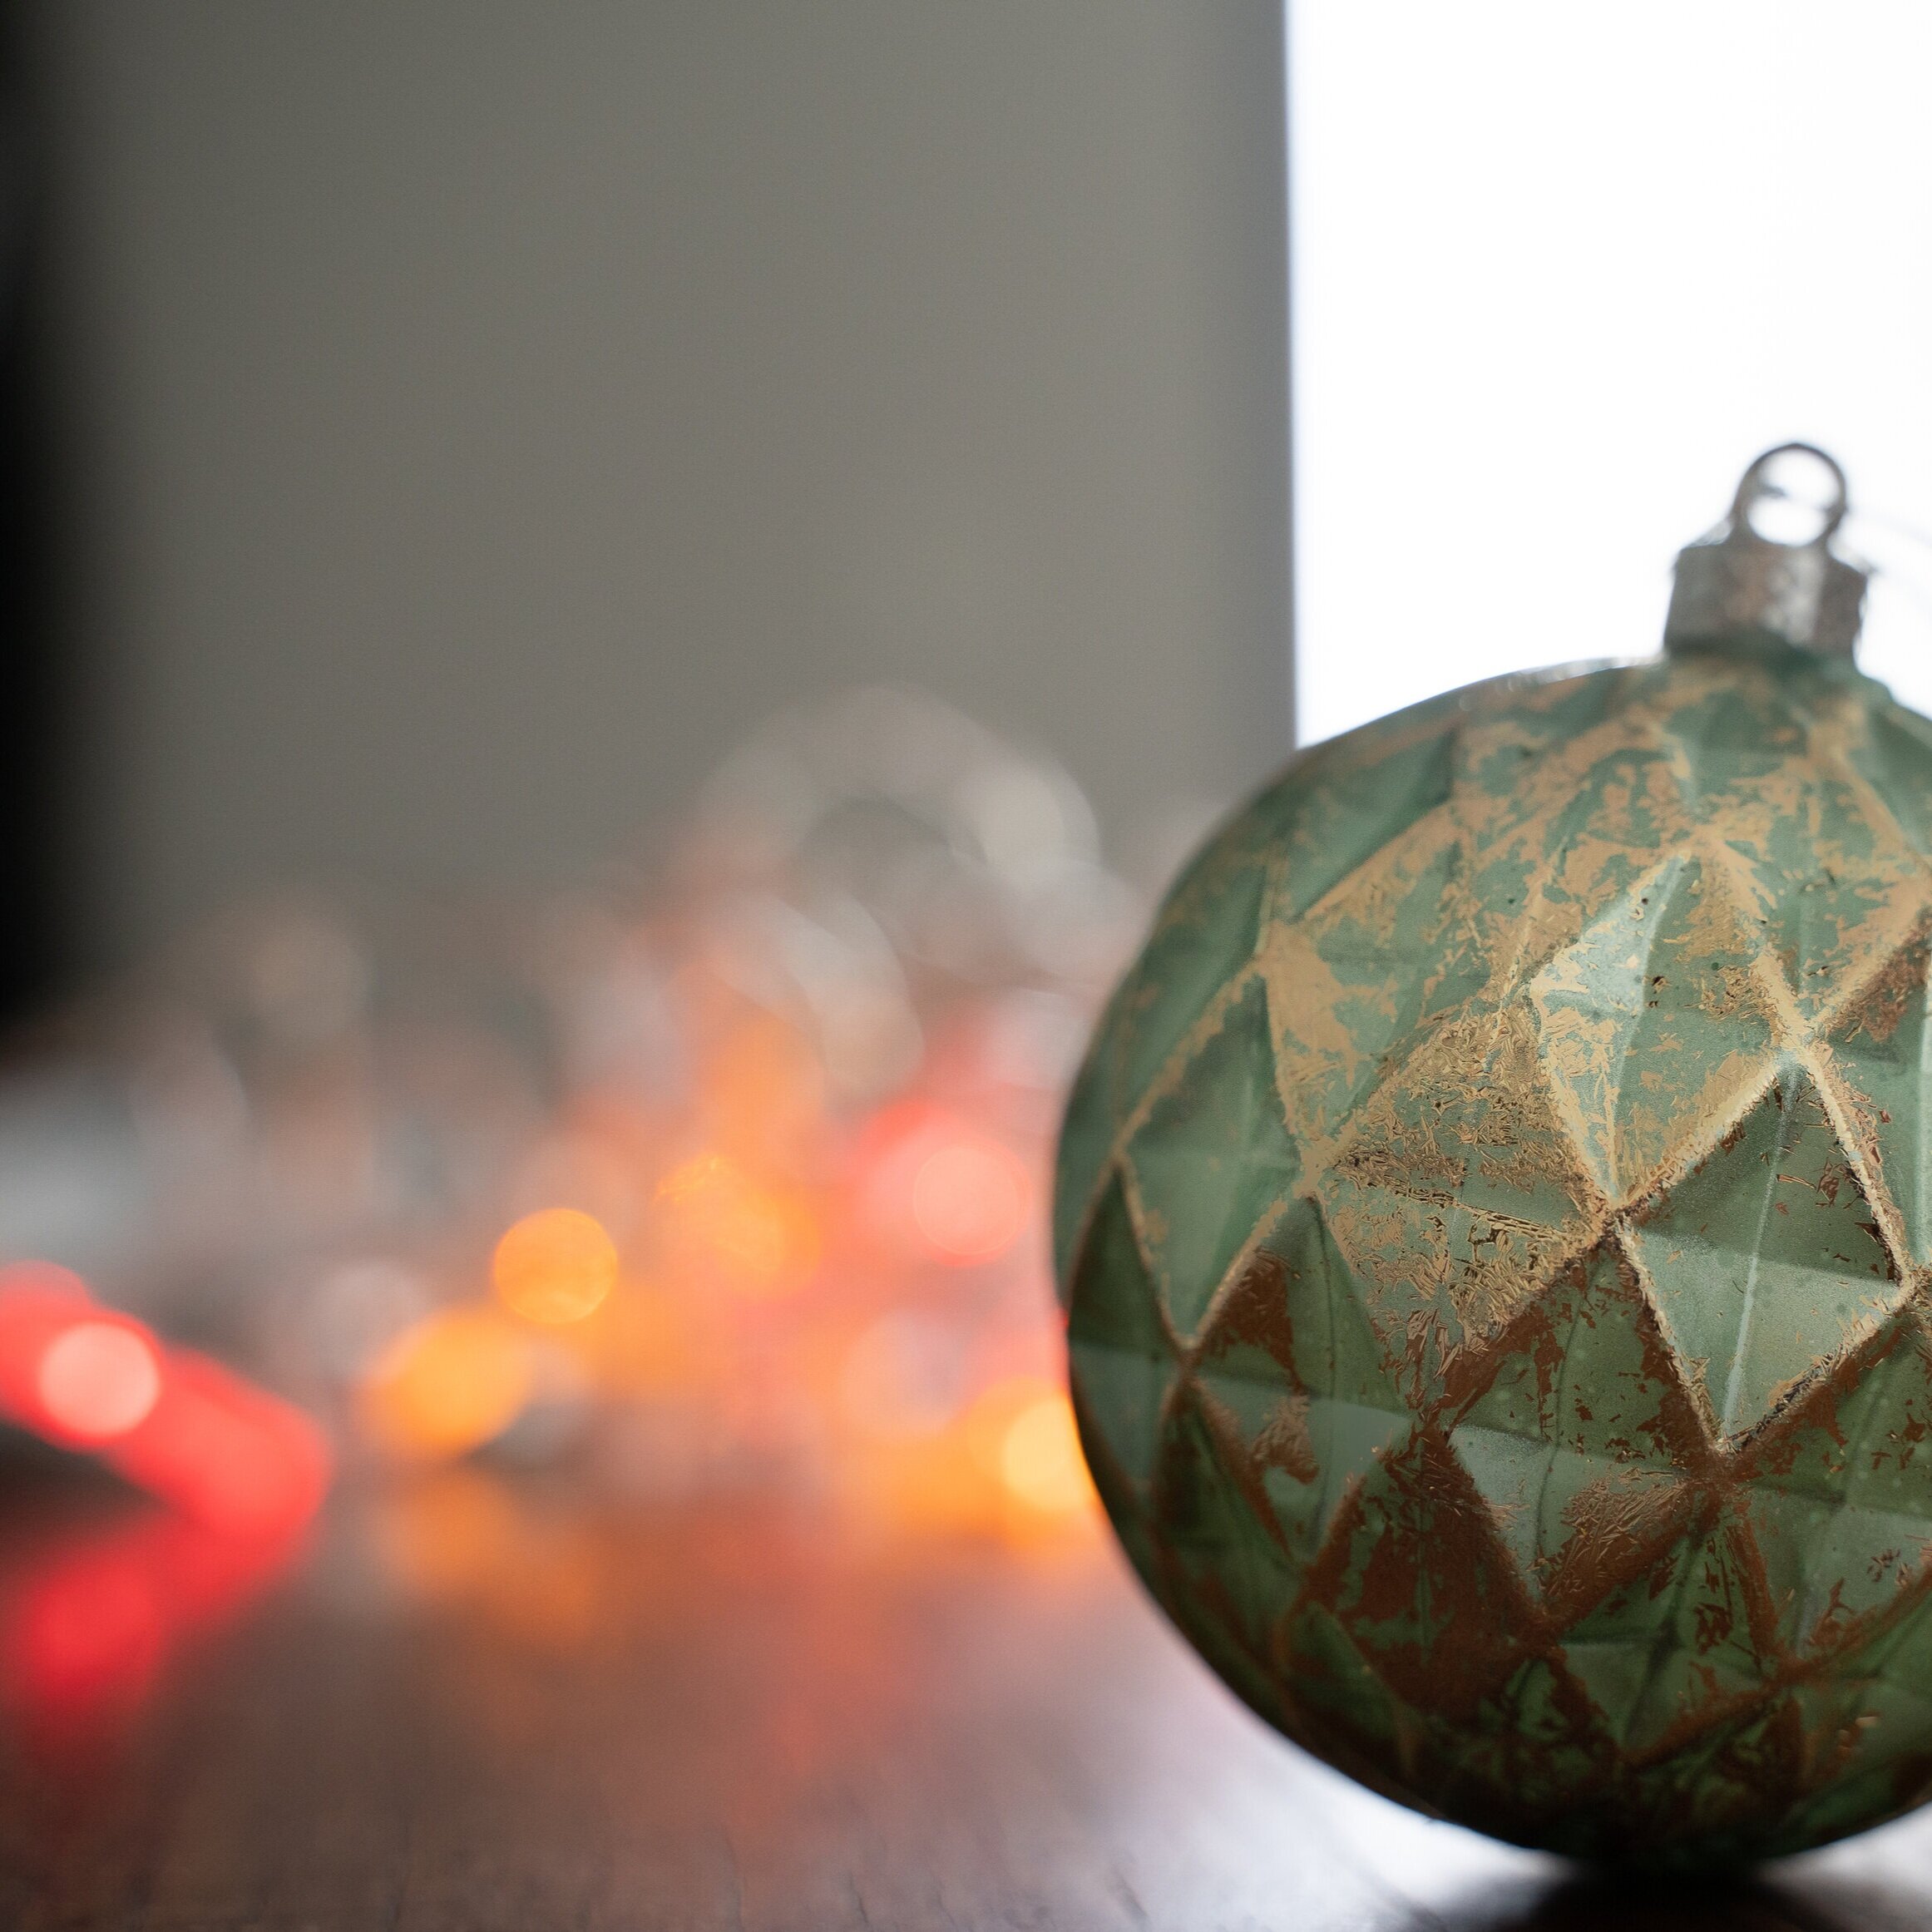
Have you got a Christmas subject in mind? What is it that you’d like to photograph with those Christmas lights? It could be a person, a Christmas decoration, a gift or anything else you’d like. Don’t forget your Christmas lights in the background.
Set your camera to Aperture mode
You need a camera with a lens that has a wide aperture. This is the secret to getting beautiful bokeh - the smaller the number the better e.g. f/2.8. If you’re not sure what aperture is, refer to this blog post where I wrote about it. Set your camera to A mode (also known as Aperture Priority). This setting lets you choose the aperture and automatically sets the shutter speed for you. All you have to do is choose the lowest f-stop and press the shutter.
Focus on your subject
Get as close to your subject as you can. Focus on your subject. The background will be out of focus and the Christmas lights in the background will become little dreamy luminous balls. You may have to experiment by moving closer or further away until you see those light balls in the background. Typically, the farther the object you’re photographing is from the backdrop, the better the bokeh. To create good bokeh, the background needs to be blurry, so make sure to position your subject at least a metre in front ahead of the lights. You can make the bokeh balls bigger by placing the subject a little bit closer to the lights. For smaller circles, put even more distance between the subject and the background.
Experiment with lights
While most of the Christmas images typically have Christmas lights in the background of the image (behind the subject) it is also possible to create the little bokeh balls of light by putting the lights in the foreground of your image (in front of your subject). You can see this in the image below. The impact is a little different as the bokeh balls will cover part of your subject.
That’s it! I hope you get to take some lovely photographs this Christmas. I’d love you to share some with me too!
M E R R Y C H R I S T M A S!